
![]()
Photo Essay | Stencil Process
A look at my process for multi-layer stencil paintings.
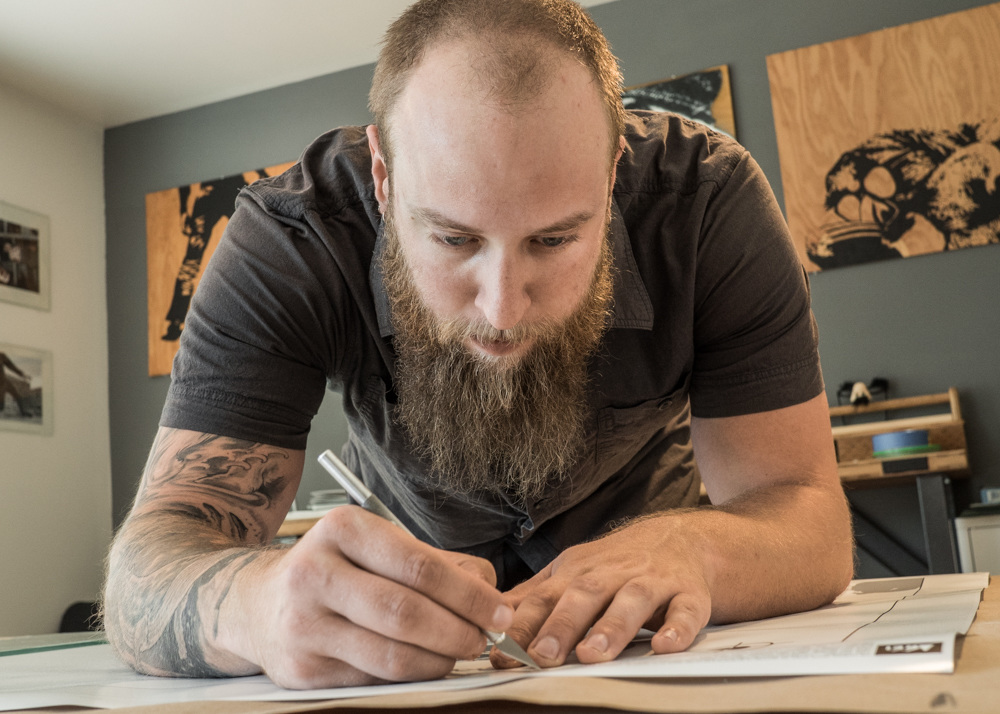
In an increasingly digital dominant world, it is sometimes refreshing to focus on more traditional media. Some of my favorite personal projects come from multilayered stencils, spray painted on plywood. This is a photo essay showcasing some of my process.
PART I. THE SOURCE

Not every photo translates equally for this process. Choosing an appropriate image has evolved from a lot of trial and error on my part. An image with too much detail may require too many layers, and one with too little detail risks being boring. My favorite images to paint make use of the confines of the plywood's boundaries.
Here is the source photo for this project.

In this case, I placed my subject (and buddy), Brandon within an architectural frame, knowing I wanted to paint him edge-to-edge on the plywood.
Using Photoshop, I roughly mask out the shape of the subject, make cosmetic adjustments, and selectively change the colors to greyscale. It's ok if things aren't perfect here, because most of the design work will take place in Illustrator.
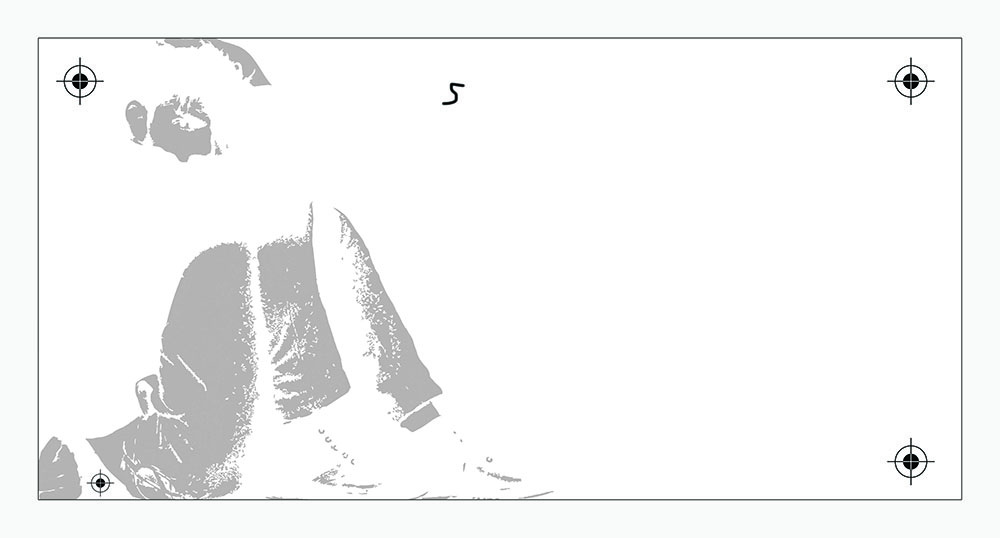
Once I bring the artwork into Illustrator, I use "Live Trace" to begin making layers for the stencil. The key is to make a single layer for each color of paint I'll use. The more colors I allow, the more layers I'll have to cut, so I try to restrict the number of layers to between 6 and 9. You can see the image has lost quite a bit of fidelity, but there are still details within the face and shoes. This stencil uses 8 layers.

To ensure there are no gaps between colors, the layers need to be additive. The bottom layer (black) needs to be the entire silhouette of the subject. The next color (dark grey) needs to include all values lighter than it, until the last layer (white). Its a bit of a color value pyramid. The animating image on the left shows what each layer looks like individually, while the image on the right shows how they will eventually stack.

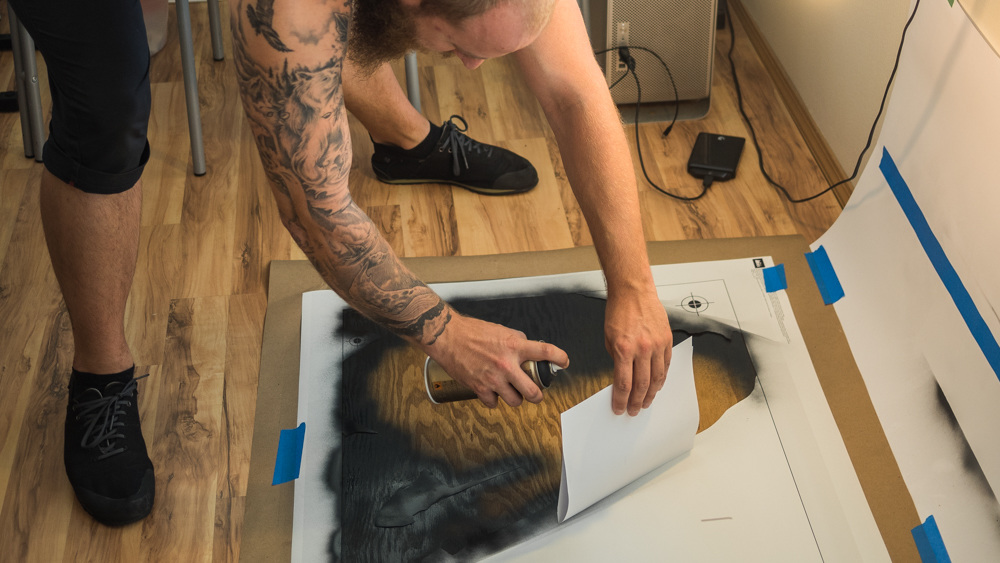
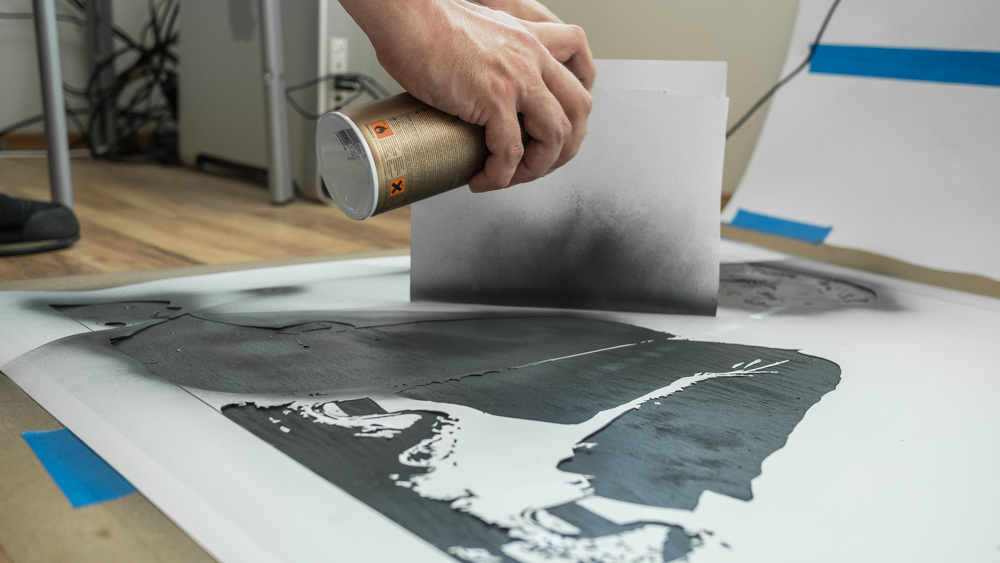
Once I'm satisfied with the artwork, I send each isolated layer to the printer. As I spray each layer, I leave the stencil in place, so score marks help me align each layer as I place them.
PART II. RAZORS, GLUE, AND PAINT
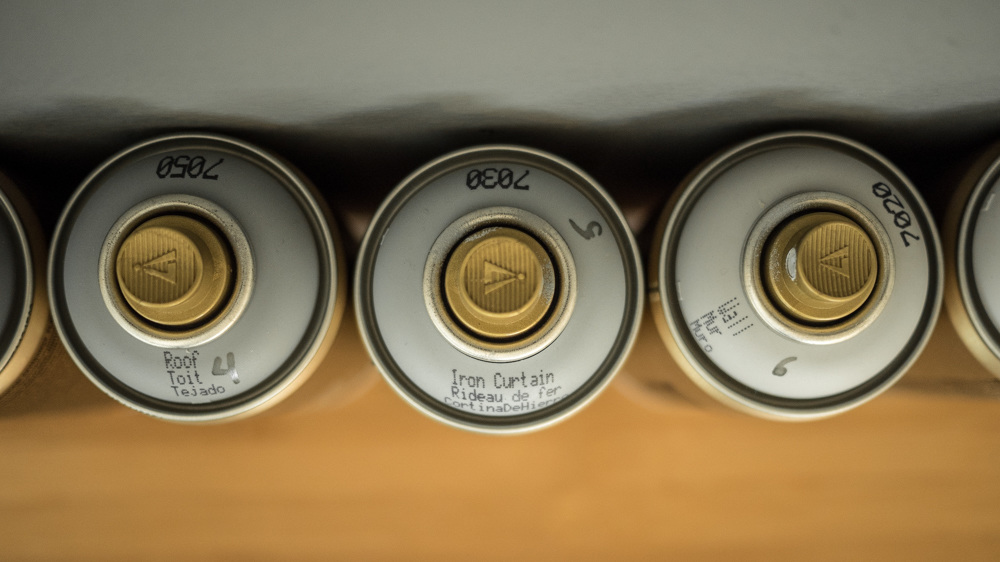
I use Montana Gold spray acrylic for most of my stencil work. For the multilayer pieces, I use a variety of grey values.
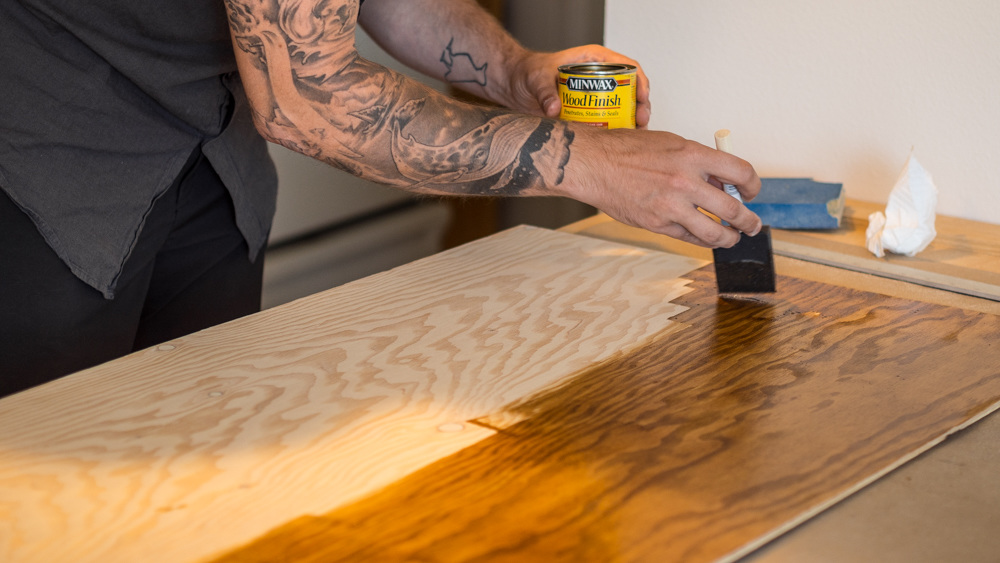
Before I start cutting the layers, I prep the plywood. For this stencil I used a 24 in by 48 in sheet, coated in stain. The grain of the wood is a factor when choosing which sheet to use, as I don't want aggressive grain distracting from the subject.
I use a regular hobby knife to cut the pieces out.
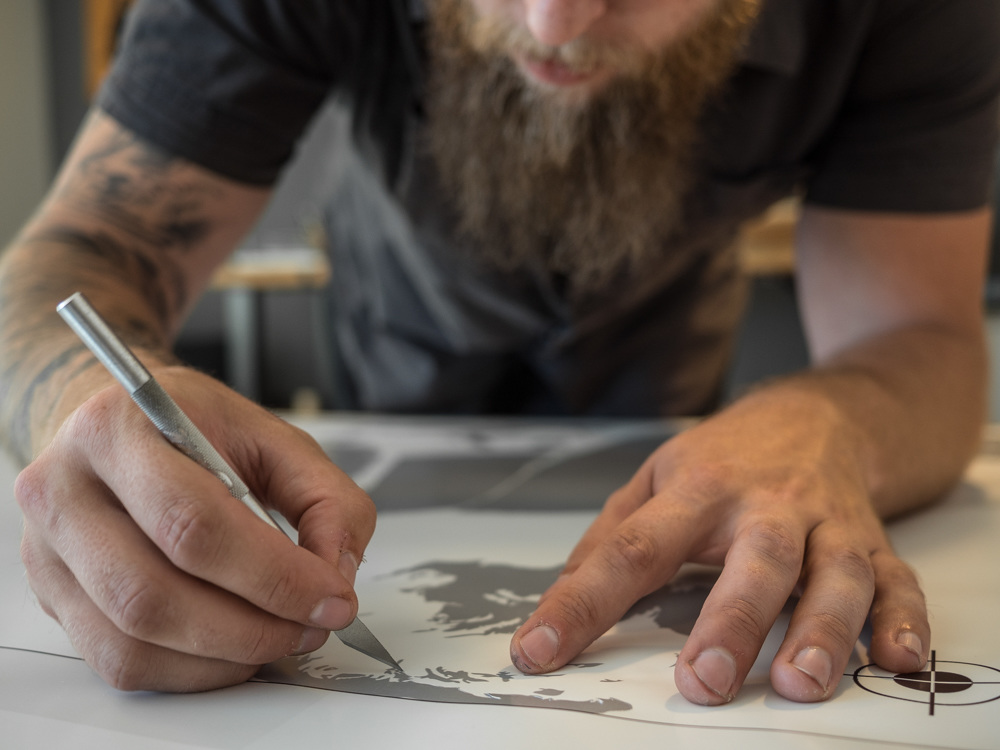
The first layer is always the easiest.
Unfortunately, cutting the stencil shapes out is the easy part. For many layers, I need to cut out "negative space" pieces and adhere them to the painted layer. I mark the top of the pieces, and surgically place them onto the layer using rubber cement, which will rub off easily when I need to later remove the pieces.
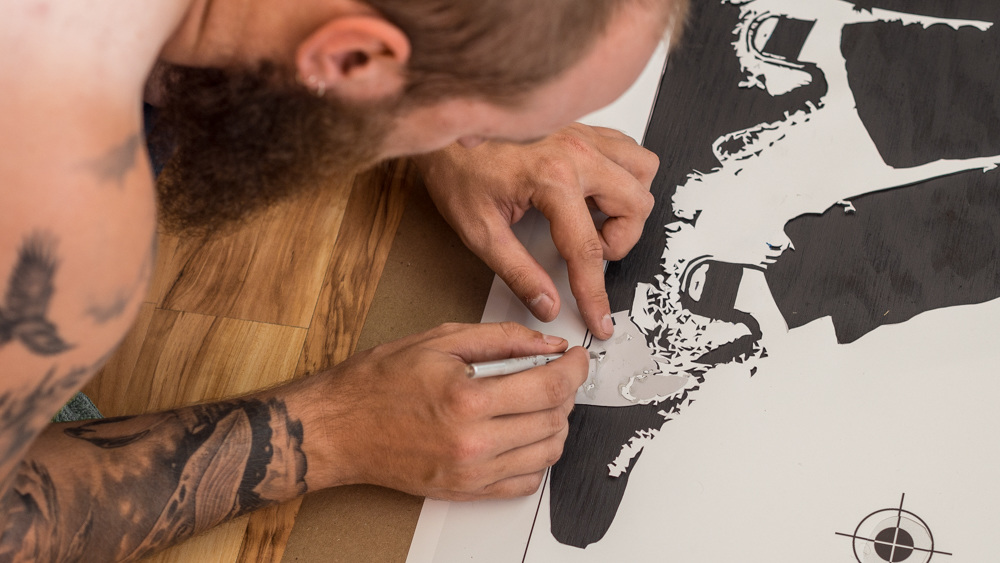
There are often hundreds of these little negative space shapes.

With each layer, I keep all the paper aligned and in place. Eventually all 8 layers of paper will be stacked, making for sharper lines, but also ensuring I won't know how I'm progressing until the piece is finished.
PART III. THE REVEAL
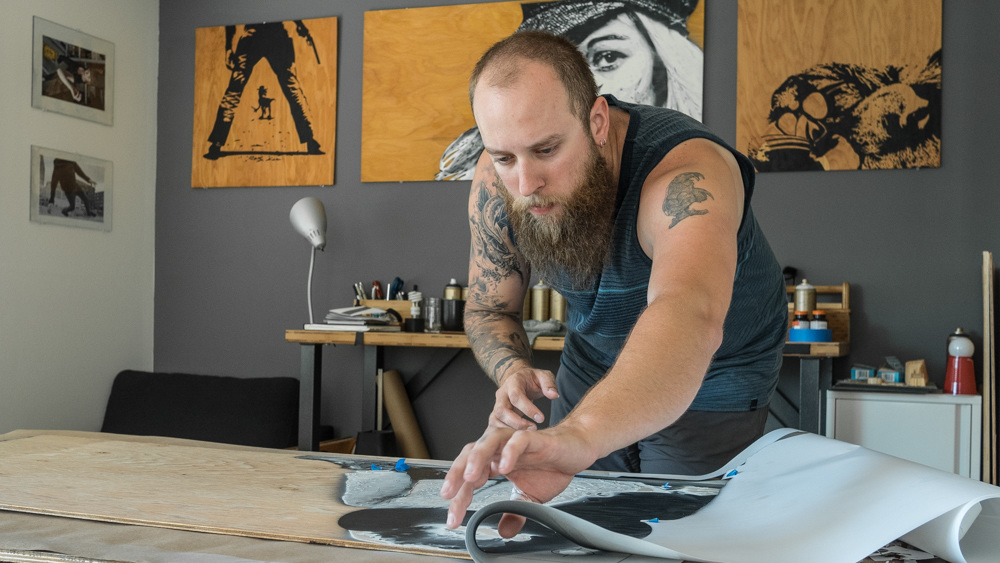
With great care, each layer is removed, gradually revealing the artwork. I won't know for sure if the stencil was a success until this moment.
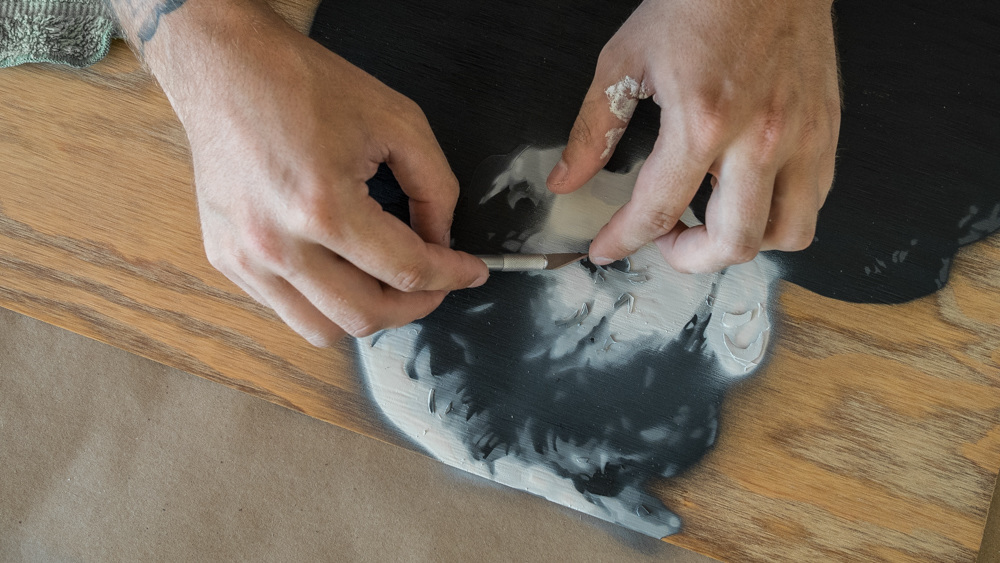
The "negative space" shapes also need to be removed with great care, often requiring the precision of the hobby knife to remove them one by one. Any residue from the rubber cement is gently rubbed off.
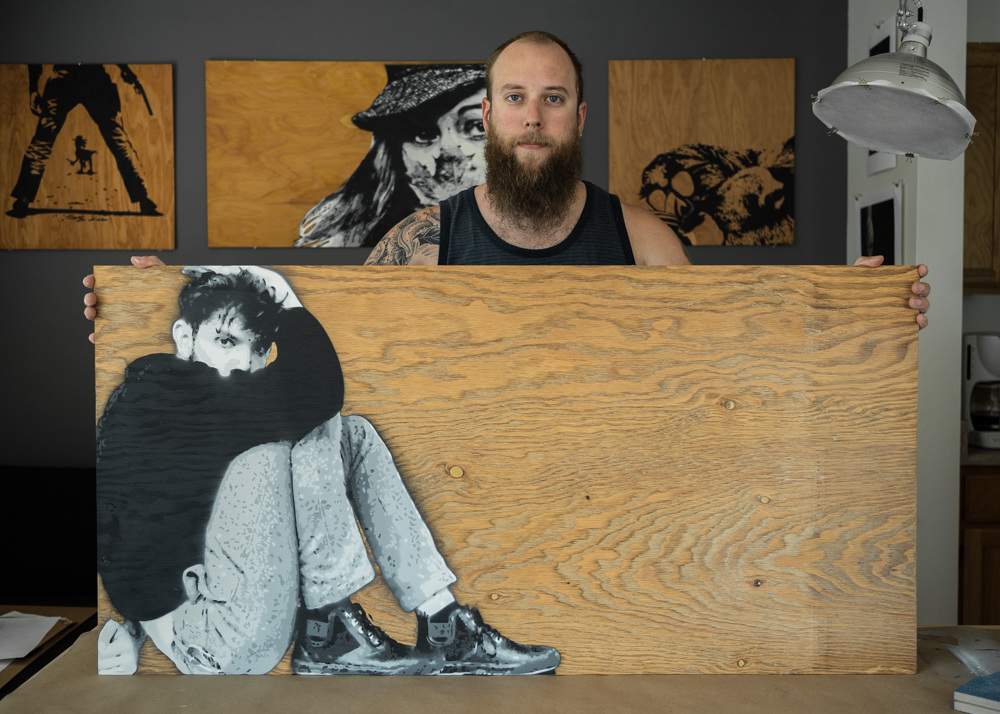
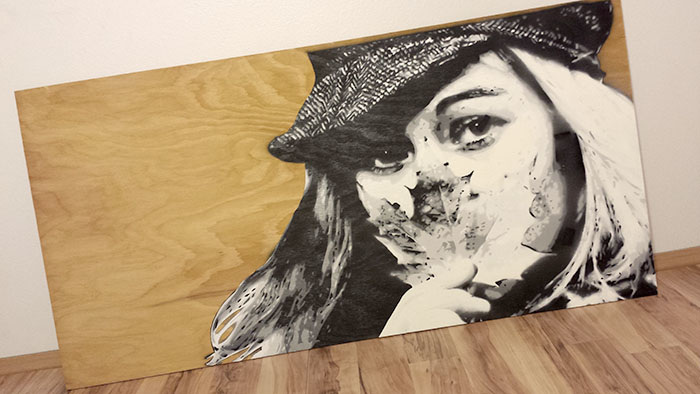
The finished piece!
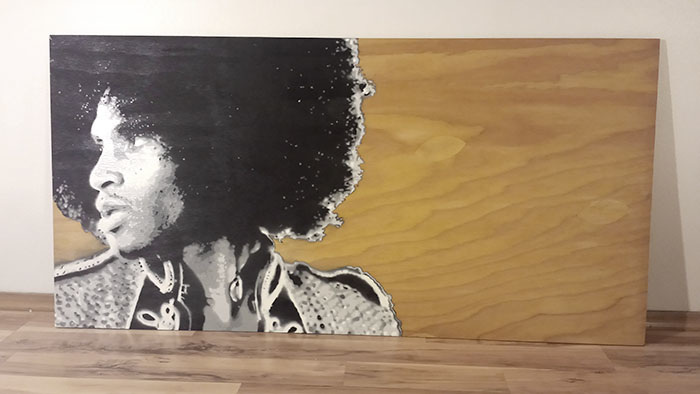
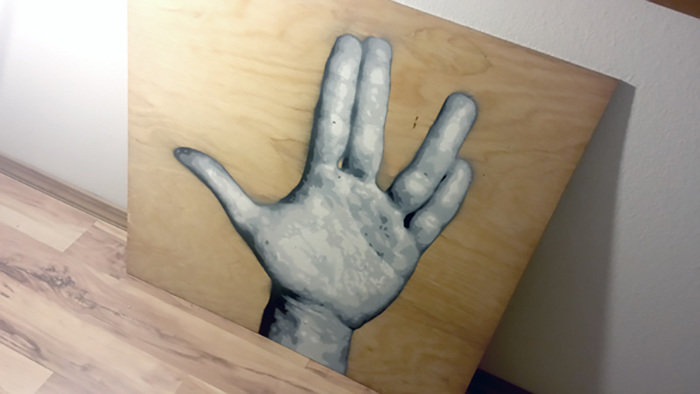
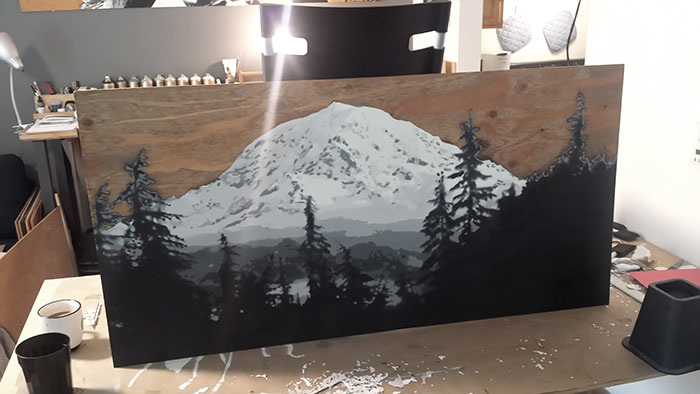
Here are some additional examples of pieces I've made using this process:
CREDITS
PHOTO: Paul Lebel
MY CONTRIBUTION: Art, writer
Kevin Knutson
206.293.1226
KevinPKnutson@gmail.com
Seattle, WA